
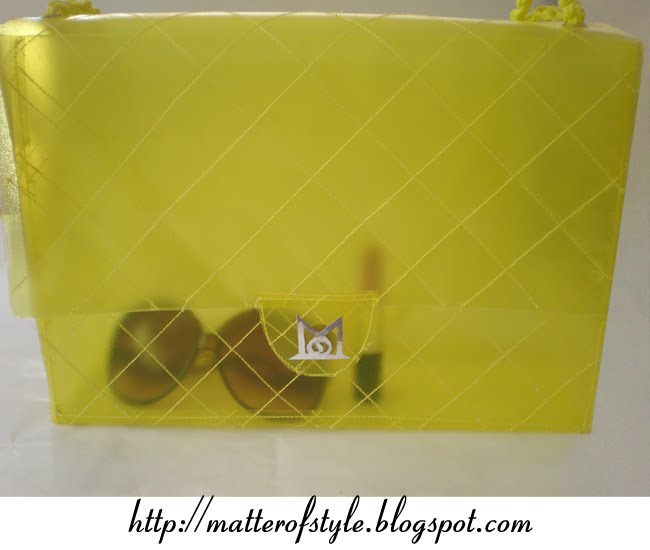


I'm really happy you liked the bag and as promised here's the pattern. The raw materials i've used (you all went very close to the answer) are book covers. I've chosen these because i had hard times finding the yellow plastic so i ended searching for it in a office supply store.
Once i got these as material i've decided take advantage from the dimensions of the covers and reduce the plastic waste crafting a "A4" bag,this way you'll reduce the number of cuts needed.
To make the bag you'll need:
- 3 book covers
- a magnetic button
- 4 eyelets
- a rope to make the handles
- You'll use the first cover to make the back and the flap of the bag.
- Cut the second one in half to obtain the front of the bag and then cut the bottom.
- Use the third to cut the 2 sides of the bag.
- sew all the pieces together
- cut 2 semicular shapes

- attach one side of the magnetic button in the middle of one of these and then sew them one onto another
- sew the piece at the center of the flap.
- attach the other side of the magnetic button on the front of the bag
- add 4 eyelets at the top of the flap


- the handle can be a simple rope you'll insert into the eyelets;mine it's made with a simple crochet chain stitch
- and you've done! :)
No comments:
Post a Comment